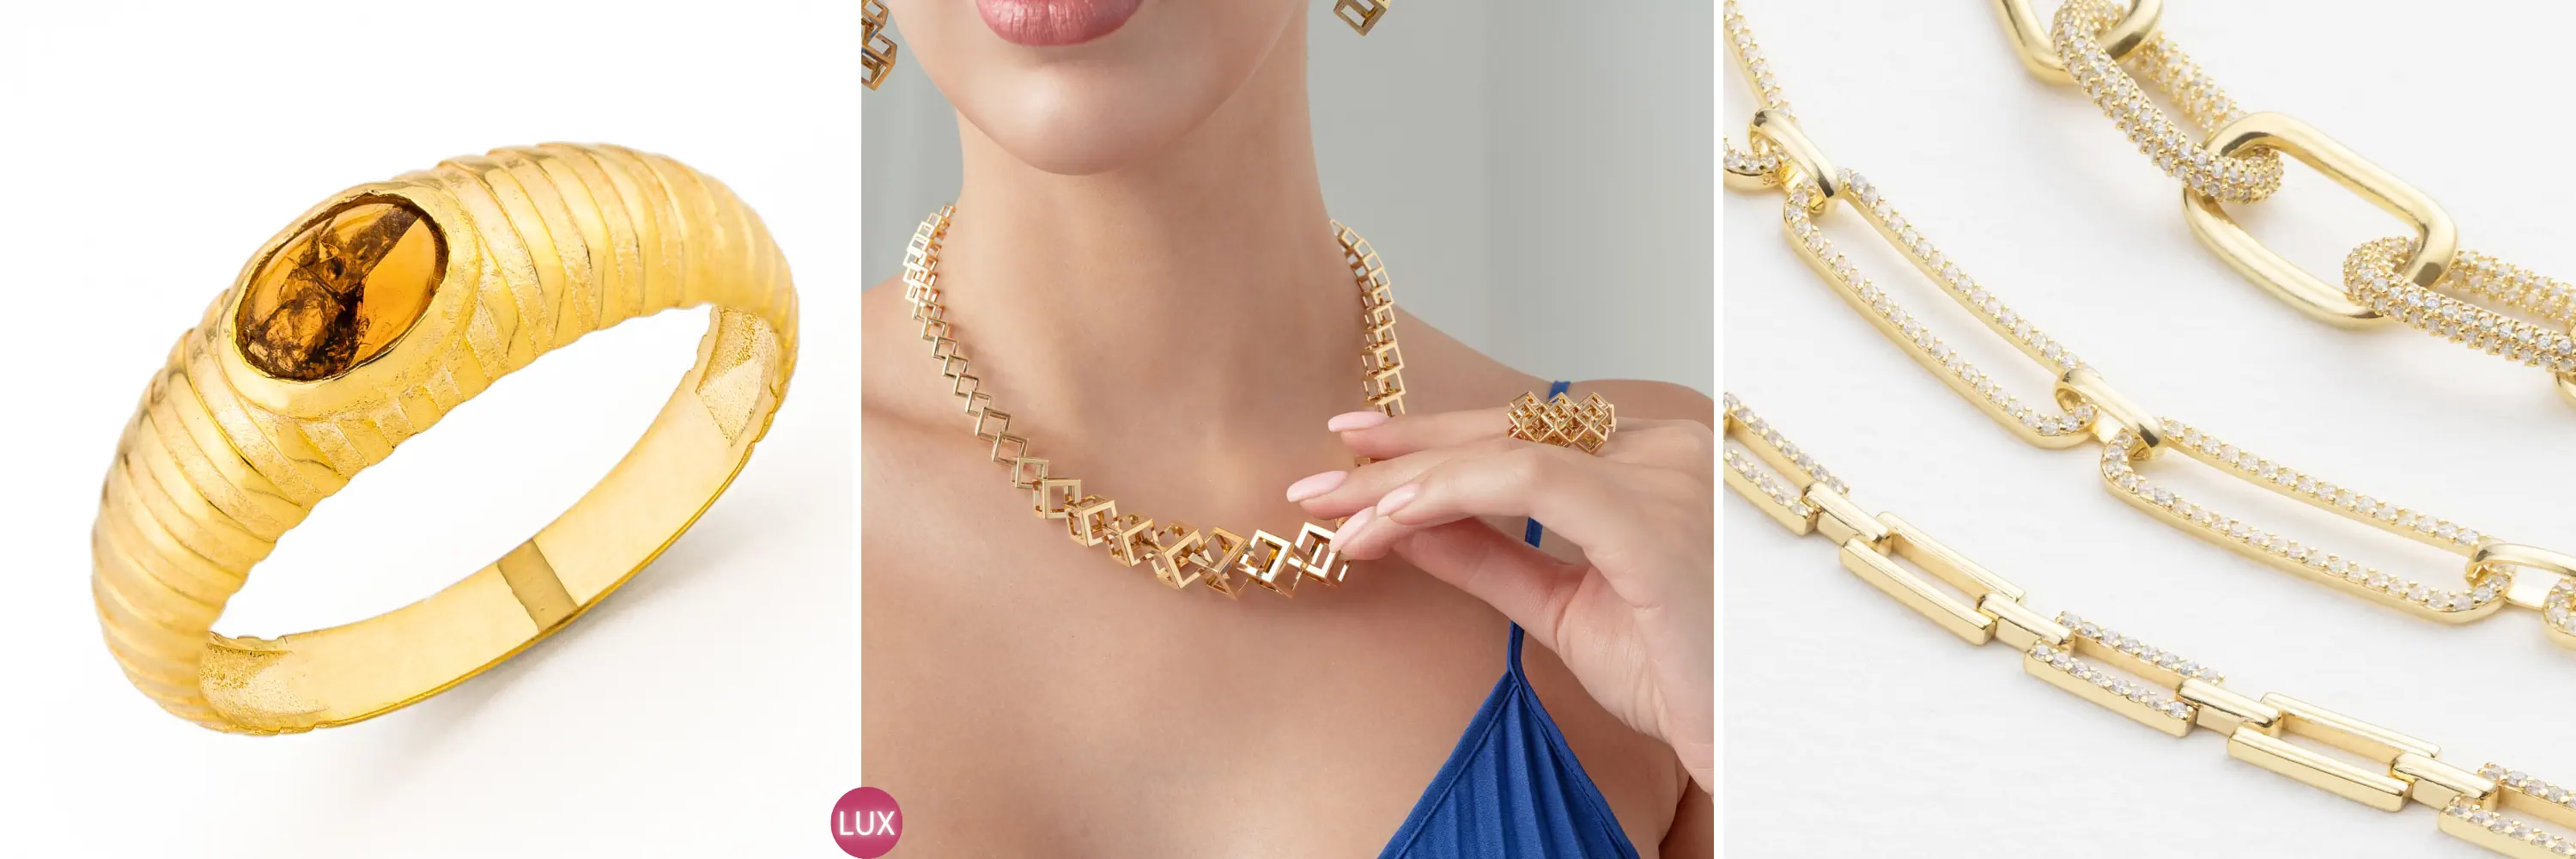
Jewelry Photography Techniques for E-Commerce: Professional Secrets to Boost Sales
Jewelry photography techniques are a critical area of expertise in product categories where even the smallest detail determines sales performance in e-commerce. Properly photographing small, highly reflective pieces such as rings, necklaces, earrings, and diamonds requires a flawless execution of a multi-step process, from light control to color accuracy, macro sharpness to styling decisions. Customers cannot touch the product, feel its weight, or see the true sparkle of the stone in person. Therefore, photography is the most powerful tool for determining the perceived value of the product. Incorrect lighting, faulty white balance, or insufficient sharpness can make even the highest-quality design look like low-end jewelry.
At LUX Production, we work with professional lighting systems, macro lenses, focus stacking software, and color-calibrated monitors in our Istanbul and Berlin studios. Led by Burak Bulut Yıldırım, who has over 20 years of experience, our team understands both the technical challenges of the jewelry category and how customer psychology works. Therefore, the shooting process is not just about producing “beautiful shots”; it is a visual strategy designed to showcase the product's true value, reduce return rates, and achieve high conversion rates on marketplaces.
In the following guide, you will find detailed information on all the critical steps in jewelry photography, practical applications, and its impact on sales.
Why Are Jewelry Photography Techniques Critical?
Does the wrong photo make even your most valuable diamond in e-commerce look like cheap bijouterie? In a world where your customers can't touch the product or inspect the craftsmanship, your photos ‘Buy’ with the button ‘Close Page’ is the only difference.
It is both too small and too much, such as a ring, earrings or a necklace. reflective Photographing products is the most technical and sensitive area of e-commerce. It's not just about showcasing a product, it's about object of desire is the art of creation. Managing this perception correctly determines your direct sales conversions.
Fast Facts What Makes Shooting Jewelry Difficult?
- Issue 1: Reflection and Glare. Metals and stones are like mirrors; they reflect everything in the studio, even the photographer.
Solution: Precisely managing light with diffusers and polarizing filters. - Problem 2: Clarity and Scale. The products are very small. When macro lenses are used, the depth of field is reduced to millimeters.
Solution: Combining dozens of photos to sharpen the entire product “Focus Stacking” technique. - Issue 3: Color Accuracy. Altının “14 ayar” sarısı veya bir pırlantanın “E rengi” beyazı %100 doğru yansıtılmalıdır.
Solution: Calibrated light sources and professional color correction (post-production).
What is in this Guide?
- Why Professional Shooting Directly Impacts Your Sales?
- Vaka Analizi: Doğru Görselle %40 Satış Artışı
- Professional Jewelry Shooting Process: 6 Steps to a Perfect Result
- Step 1: Flawless Cleaning and Preparation
- Step 2: The Right Equipment (Macro Lens and Tripod)
- Step 3: Light Control and Reflection Management
- Step 4: Styling, Composition and Background
- Step 5: Focus Stacking (Full Sharpness) Guarantee
- Step 6: Color Management (Return Reduction)
- Expert Commentary: The Risks of ‘DIY’ Shoots
- Frequently Asked Questions
- Conclusion Solution Partnership for Your Brand
“Hello, I'm Burak Bulut Yıldırım. As the founder of LUX Production, I have been in the field of e-commerce and advertising production since 2005. I have worked with countless brands for Amazon, Trendyol and global marketplaces. The clearest fact I have seen is this: There is no such thing as ’okay‘ in jewelry photography. A wrong reflection, a blurred detail or a wrong color tone instantly undermines the customer's trust and the perceived value of the product.
In our studios in Berlin and Istanbul, we don't just take photos; we create seamless, sales-oriented visual strategies that will make your customer press the ‘Buy’ button without hesitation.”
- Burak Bulut Yıldırım, Professional Photographer and E-commerce Visual Strategist
Why Professional Shooting Directly Impacts Your Sales?
Customers, especially when shopping online, are looking for the craftsmanship of a piece of jewelry, the quality of the stone and the texture of the metal. see it up close wants. A dim, glaring or blurry smartphone photo can make even the most precious jewelry look inferior. Not only will you miss out on the sale of the moment, it will permanently damage your brand image and drive potential customers to abandon their carts.
The right visuals have the opposite effect: They inspire trust, increase the value of the product and reduce return rates.
Vaka Analizi: Doğru Görselle %40 Satış Artışı
The sales of a Berlin-based silver jewelry brand, which works with us as LUX Production, only increased in the first three months after the product visuals were renewed. %40 oranında arttı. Thanks to the right lighting we used and the “focus stacking” technique we used to sharpen all the details, customers saw the fine workmanship they had not noticed before and made their purchasing decisions much faster.
Professional Jewelry Shooting Process: 6 Steps to a Perfect Result
A successful jewelry photo is much more than just pressing the shutter button. It's a multi-step process that requires meticulous preparation, the right equipment and an expert eye. Those perfect shots that make your customers say "I must have this" on the screen are the result of the following professional disciplines.
Step 1: Flawless Cleaning and Preparation
The first rule of shooting is that the product must be spotless. Dust specks or fingerprints, which are never visible to the naked eye, look like huge smudges under high-resolution macro lenses and undermine customer confidence.
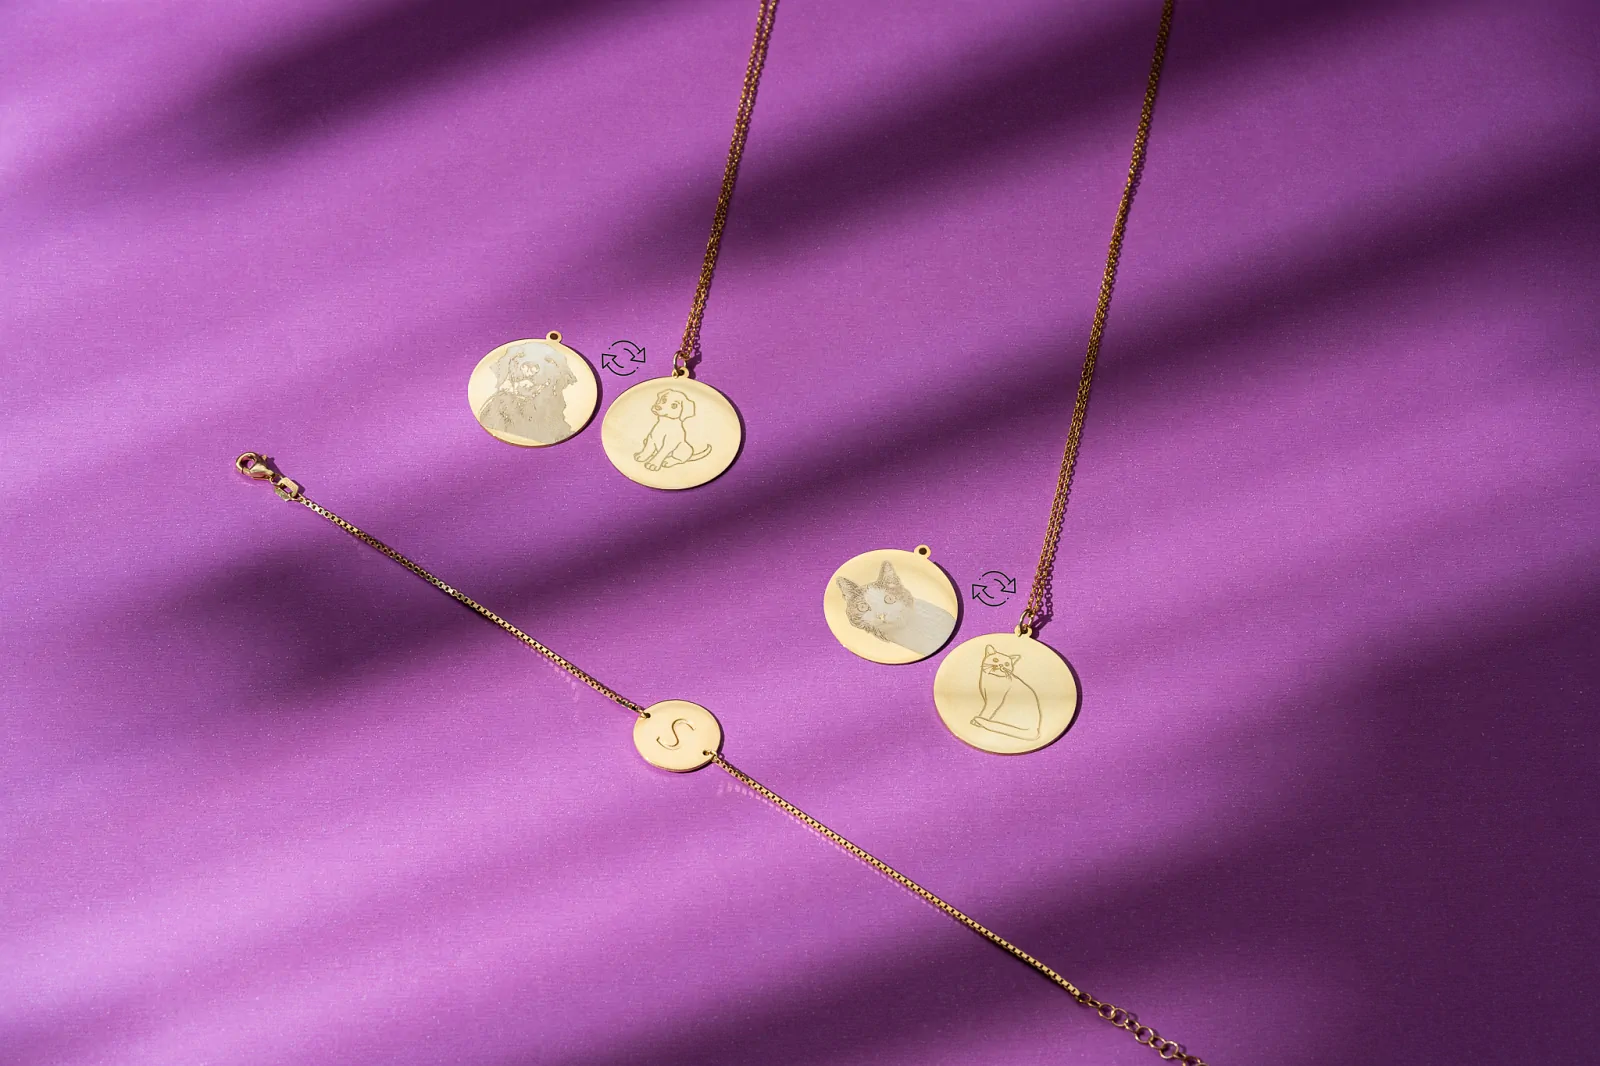
As LUX Production team, we prepare each product for shooting with special solutions, compressed air pumps and antistatic brushes. This meticulousness reduces hours of retouching in the post-production process. faster delivery of your project provides.
Step 2: The Right Equipment (Macro Lens and Tripod)
Details show the true value and craftsmanship of a piece of jewelry. The “close-up” modes of smartphones allow a professional macro lens the optical clarity it offers. Lenses like the 100mm we use allow us to work without creating reflections.
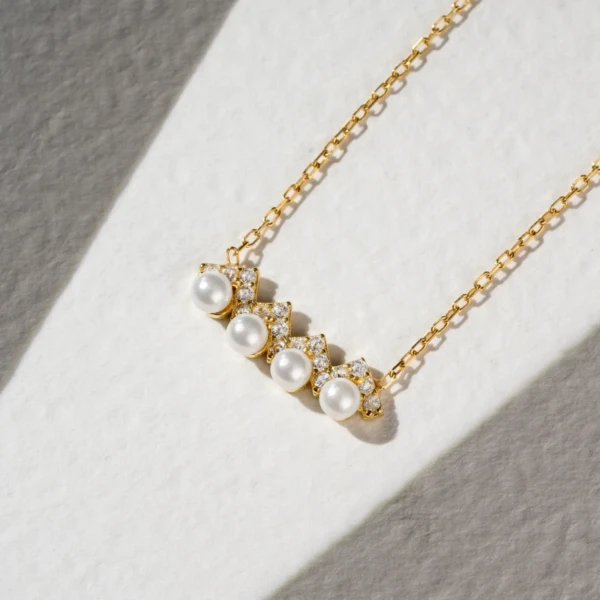
Also, even the slightest vibration in macro shots will blur the image. A professional tripod and using a remote control is a must. This ensures the consistent framing needed to apply advanced techniques such as “focus stacking”.
Step 3: Light Control and Reflection Management
Precious stones and metals highly reflective. You don't want to see yourself or your camera in the product. In professional studios, this is done with special reflection absorbers that absorb reflections without distorting the light tents, with diffusers and polarization filters.

The aim is not to make it look ‘bright’ but to make it look ‘right’. Soft, even lighting that eliminates shadow and not mixing different color temperatures (e.g. window light + lamp) is essential.
Step 4: Styling, Composition and Background
The way to make a piece of jewelry stand out is to keep it clutter-free. But “simple” does not mean boring. For Amazon, you need pure white background (decoupe) for Instagram with lifestyle concept shooting requires completely different specializations.
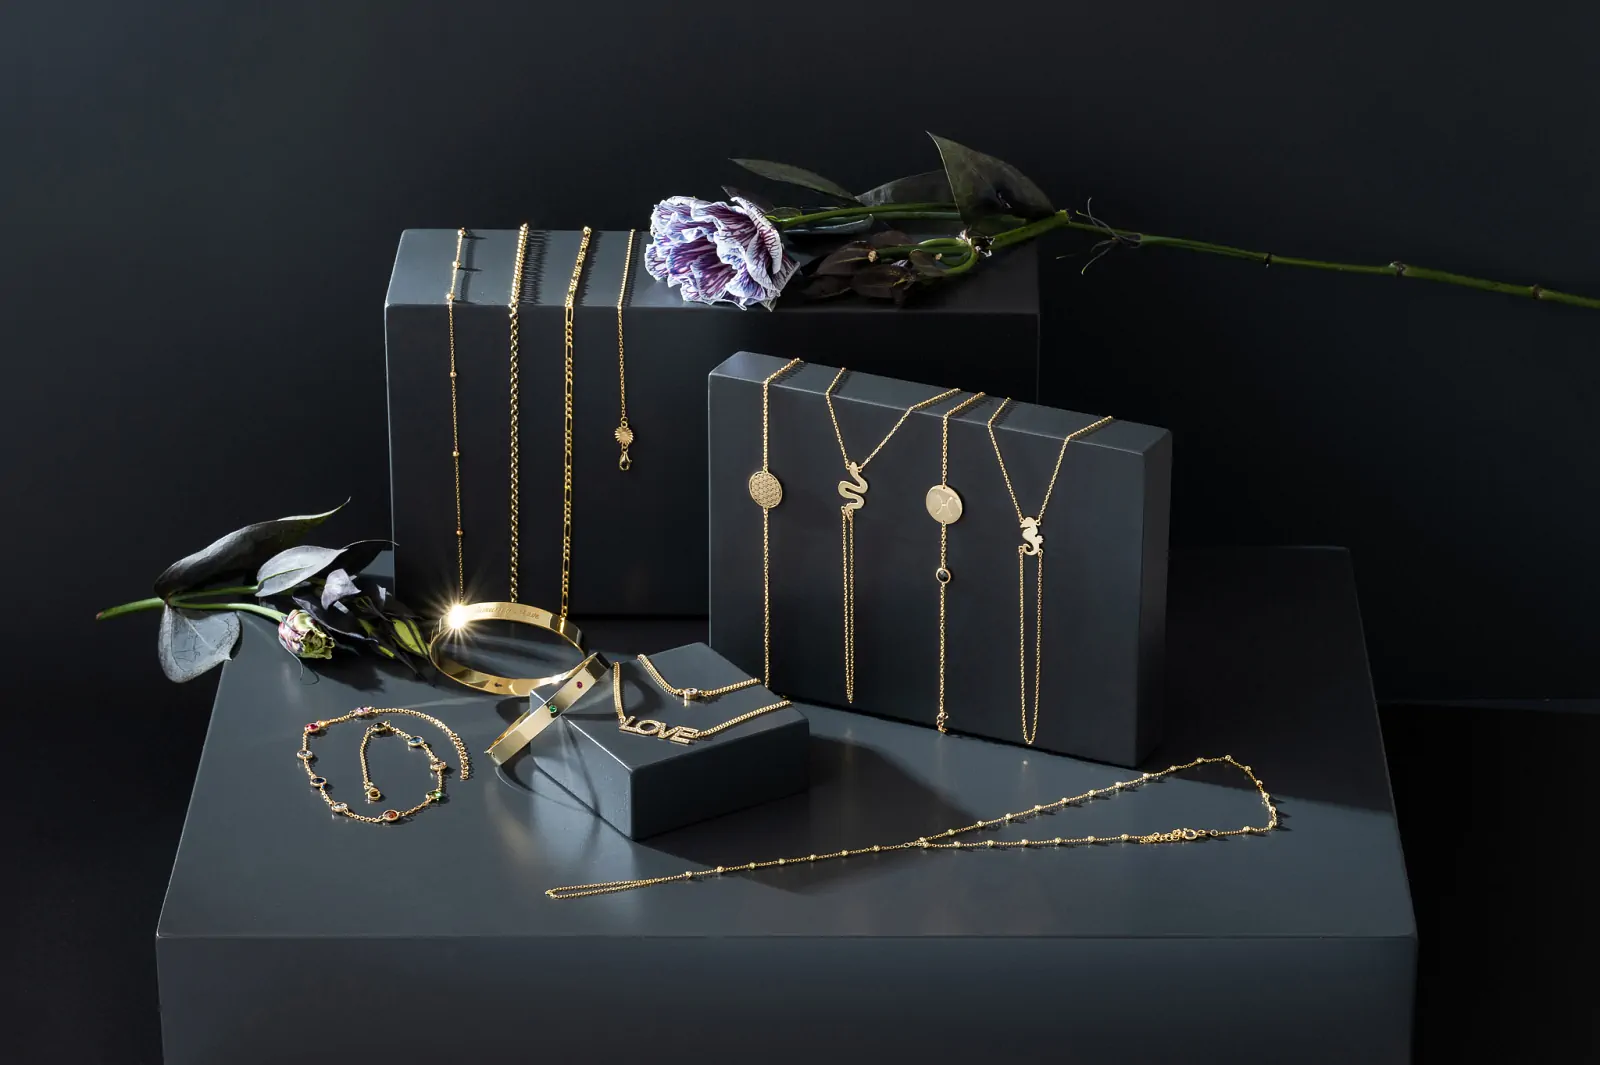
Whether it's a minimalist shoot on a marble surface in our Istanbul studio or a concept that fits the modern aesthetic of Berlin, our styling team will present your product with the right story. Don't forget: 0 white background is mandatory for marketplace main photos.
Step 5: Focus Stacking (Full Sharpness) Guarantee
In close-up, it is technically impossible to focus an entire piece of jewelry in a single frame. While the diamond stone you focus on comes out sharp, the ring of the ring may remain blurred. Here is the name of the technique that overcomes this problem focus stacking (focus stacking).
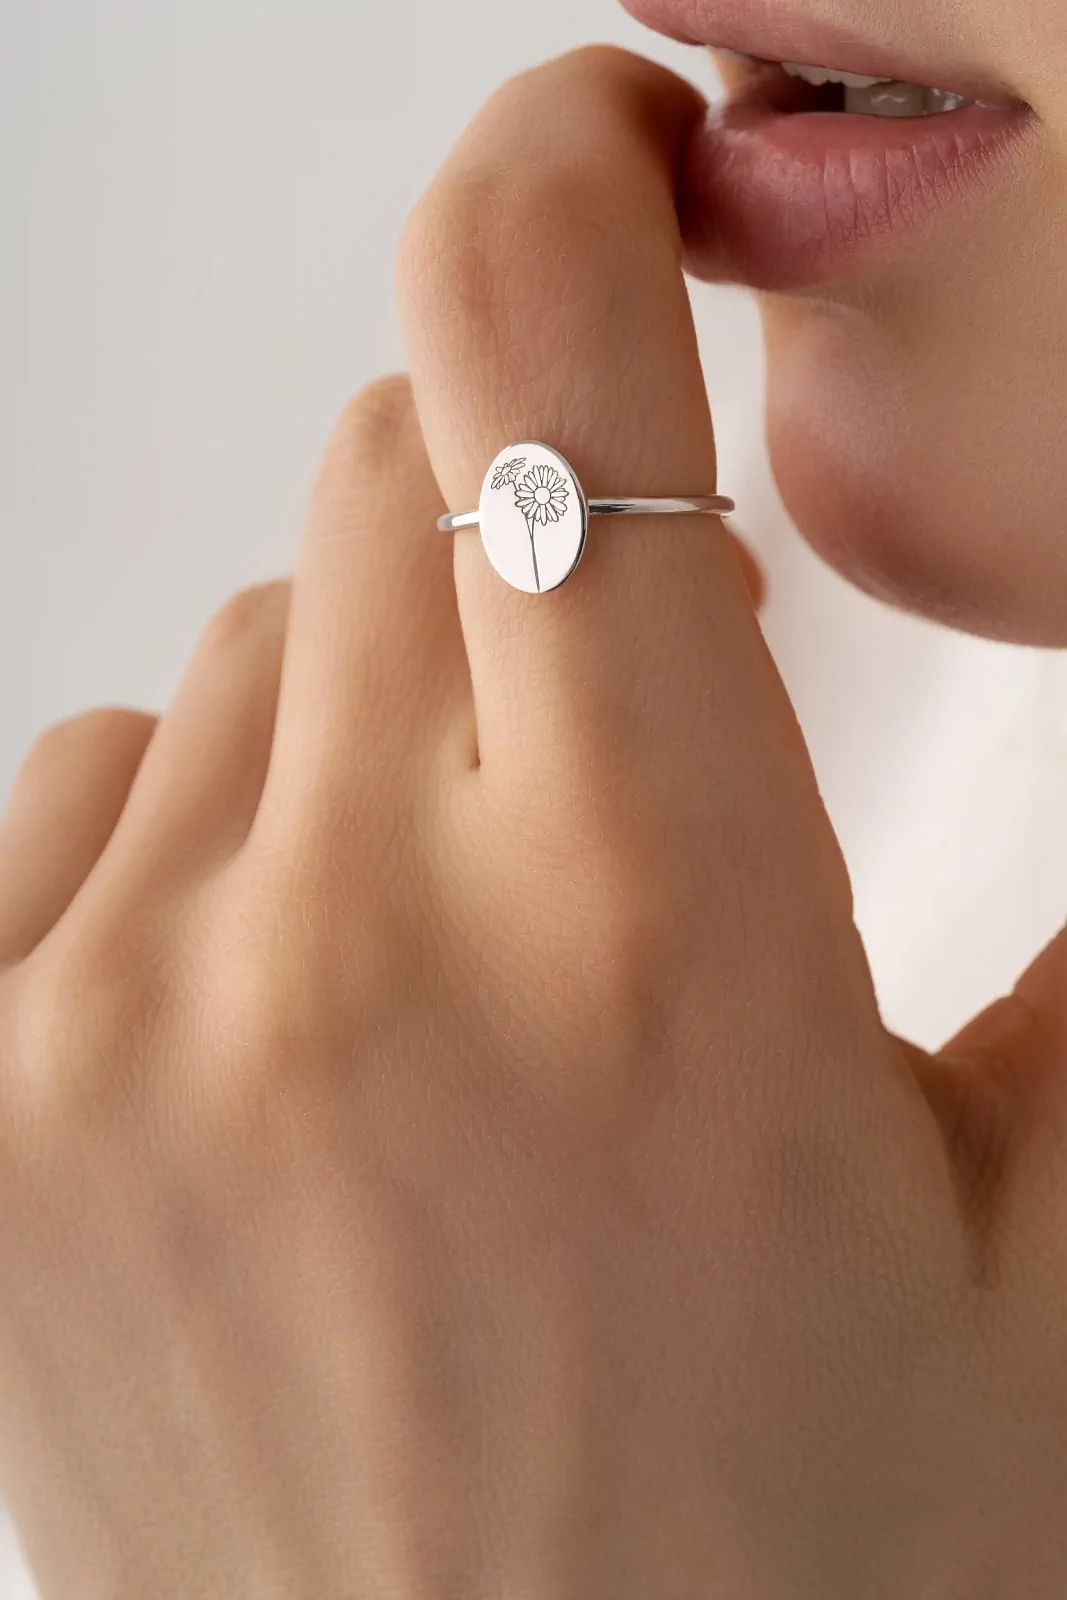
In this technique, dozens of photographs are taken, sharpened at different points on the product, which are then combined with specialized software. The result is a single photo that is incredibly sharp from start to finish, with all the details perfectly visible. This is the clearest answer to the question “Why should I work professionally?”.
Step 6: Color Management (Return Reduction)
One of the biggest problems in online sales is returns. The reason for the complaint “It looked like rose gold in the photo, but this is yellow gold” is the wrong white balance and lack of color management.

In our studios, we start shooting by measuring the ambient light with calibration cards (gray card). All our equipment (camera, monitor) is color calibrated. Proper color management increases customer satisfaction and directly reduces your return rates.
Expert Commentary: The Impact of DIY Shoots on E-Commerce
“Hello again, Burak here. Many of the 6-step process I outlined above can be ‘tried’ at home. However, my experience of more than 20 years of e-commerce production has shown me this very clearly: E-commerce does not tolerate ‘trial and error’. You have seconds to grab the customer's attention.
Amatör bir yansıma, yanlış bir renk tonu veya odaklanmamış bir detay, müşterinin ürünü ‘ucuz’ olarak algılamasına ve sepeti terk etmesine neden olur. LUX Prodüksiyon stüdyolarında biz bu 6 tekniği, ‘satışa dönüşmesi’ hedeflenen bir standartta ve pazar yeri kurallarına (Amazon A+, Trendyol) %100 uyumlu olarak sunuyoruz. Profesyonel hizmet, bir maliyet değil, iadeleri azaltan ve ciroyu artıran bir yatırımdır.”
- Burak Bulut Yıldırım, E-commerce Visual Strategist
Frequently Asked Questions About Jewelry Photography
How are professional jewelry photography prices determined?
Pricing varies depending on the number of products, shooting technique (decoupage, lifestyle, 360 degrees), the level of clarity required (use of focus stacking) and post-production (retouch) time. For a clear quote per product or per project per day, we need to know the details of your project.
‘What is ’Focus Stacking' and why is it essential for shooting jewelry?
Focus stacking is the combining in software of multiple images of a product taken from different focal points. With small objects such as jewelry, the depth of field in macro photography is very shallow (only part of it is sharp). This technique ensures that everything from the nail on the front of the ring to the stone on the back is 0 in sharp focus.
Where do the shoots take place? Do I have to send the products?
We carry out our shootings in our fully equipped studios in Istanbul (European Side) and Berlin (Central) locations. You can safely send your valuable jewelry and jewelry products by insured cargo or deliver them to our studio by hand.
What is the difference between decoupage and lifestyle (concept) photography?
A decoupage photo is when the product is separated from the background and placed on a 0 white background (or transparent PNG). This is a technical requirement for the main listing photo of marketplaces such as Amazon, Trendyol, etc. Lifestyle shots are photos that show the product being used on a model, in a special concept or with décor, telling the story of the brand and triggering the customer's sense of ‘desire’. A successful e-commerce listing uses both in a balanced way.
Can I take professional jewelry photos with my own means (at home)?
You can get basic results, but critical techniques like ‘Reflection Management’, ‘Focus Stacking’ and ‘Accurate Color Calibration’ require specialized equipment (macro lens, diffusers, calibrated light) and serious post-production experience. In e-commerce, an ‘okay’ photo undermines customer confidence. A professional shot shows the true value of the product, reducing returns and increasing sales.
Conclusion: Reflect Your Brand's Sparkle in E-Commerce
Finding the value your jewelry deserves, fully utilizing your sales potential and strengthening your brand image is only possible with professional and strategic images, not with ordinary photos. Your customers may not be able to touch the product, but with your photos they should see it as clearly as if they had touched it.
Are You Ready to Bring Your Project to Life?
As the LUX Production team, Istanbul and Berlin In our studios, we are ready to tell your brand's story in the right light. Let us analyze your products and marketplace goals and create a visual strategy tailored to you.
