6 Tips for a Leather Shoe Photo Shoot
To achieve good results in a leather shoe photo shoot, simply placing the product in the frame is not enough. The product’s cleanliness, shape, lighting direction, reflection control, detail angles, and the sales channel where it will be used must all be planned together.
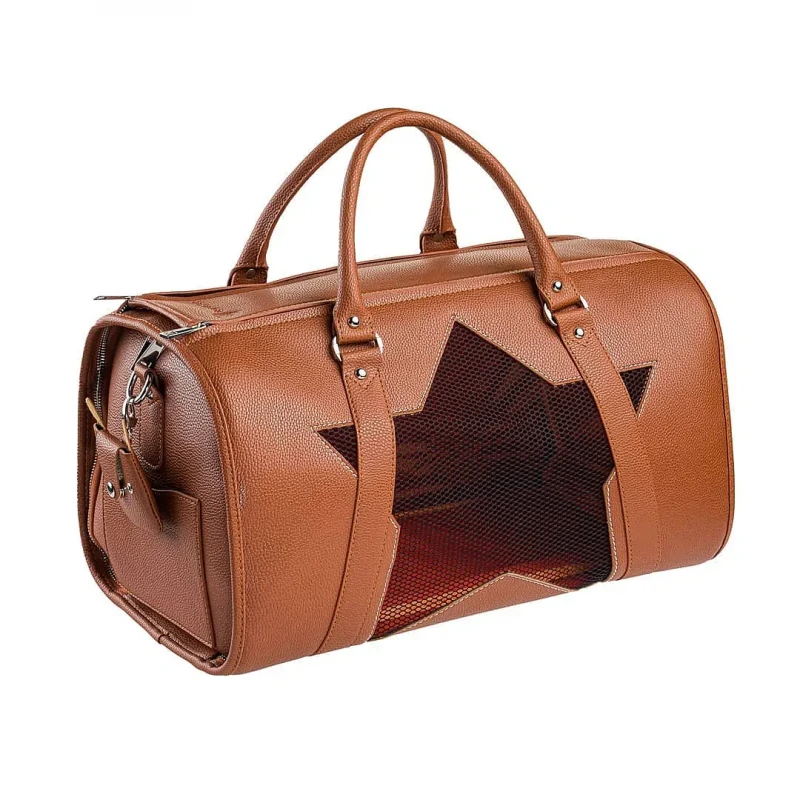
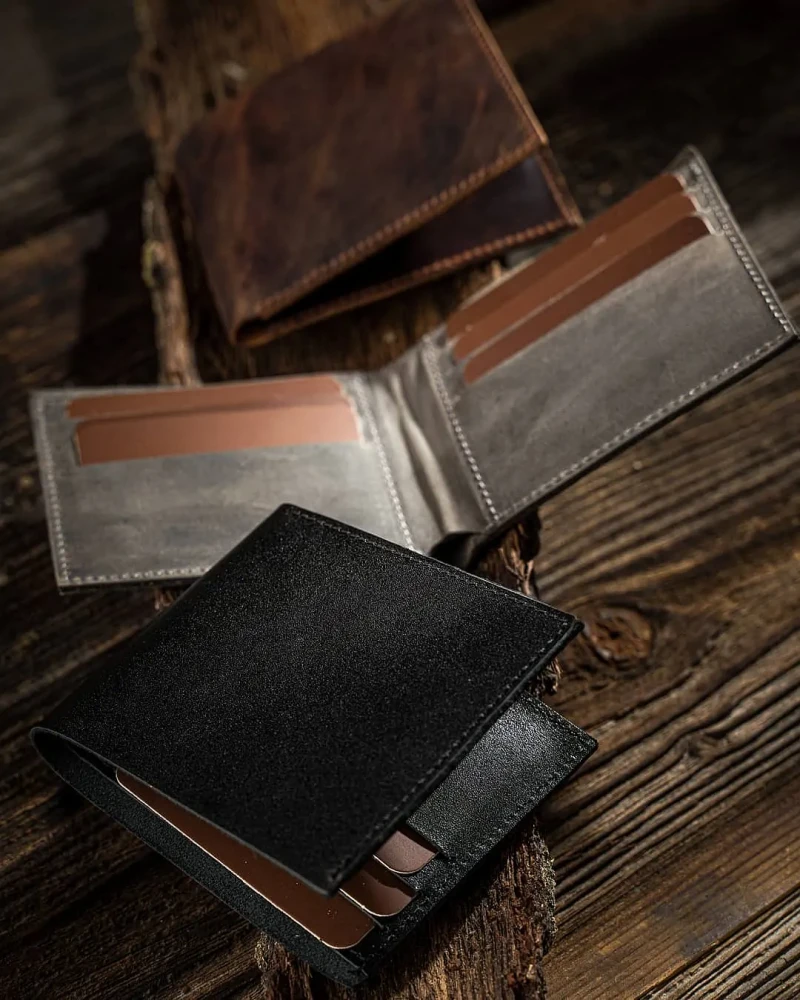
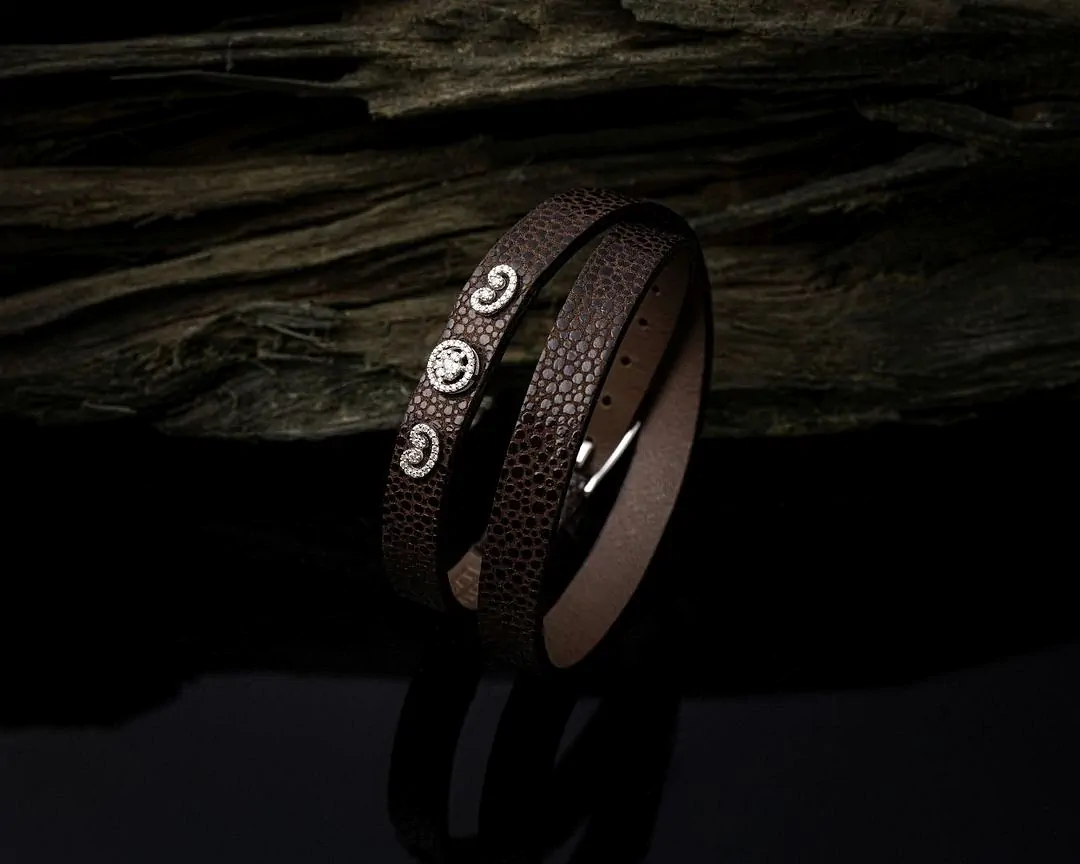
With products like leather shoes, bags, and accessories, customers cannot touch the item. The texture, sheen, color, stitching quality, sole construction, and shape of the leather are assessed through photographs. Therefore, a product photo is not just a visually appealing image—it is a set of information that helps the customer make a decision.
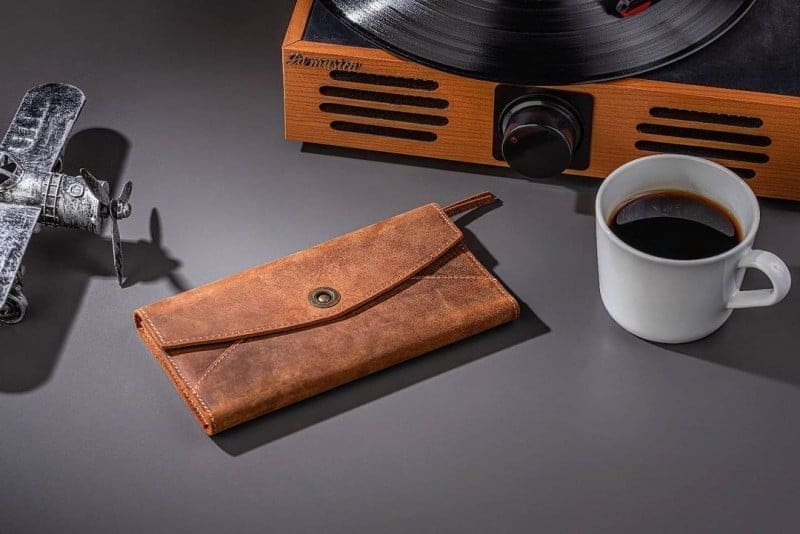
This guide highlights the six most common mistakes made when photographing leather shoes. The same principles can also be applied to photographing leather bags, wallets, belts, and accessories.
How should you take photos of leather shoes?
Photos of leather shoes should be taken with the product in its original shape, using broad, controlled lighting, with proper white balance, from front, side, and back angles, and highlighting texture details. A single main image is often not sufficient.
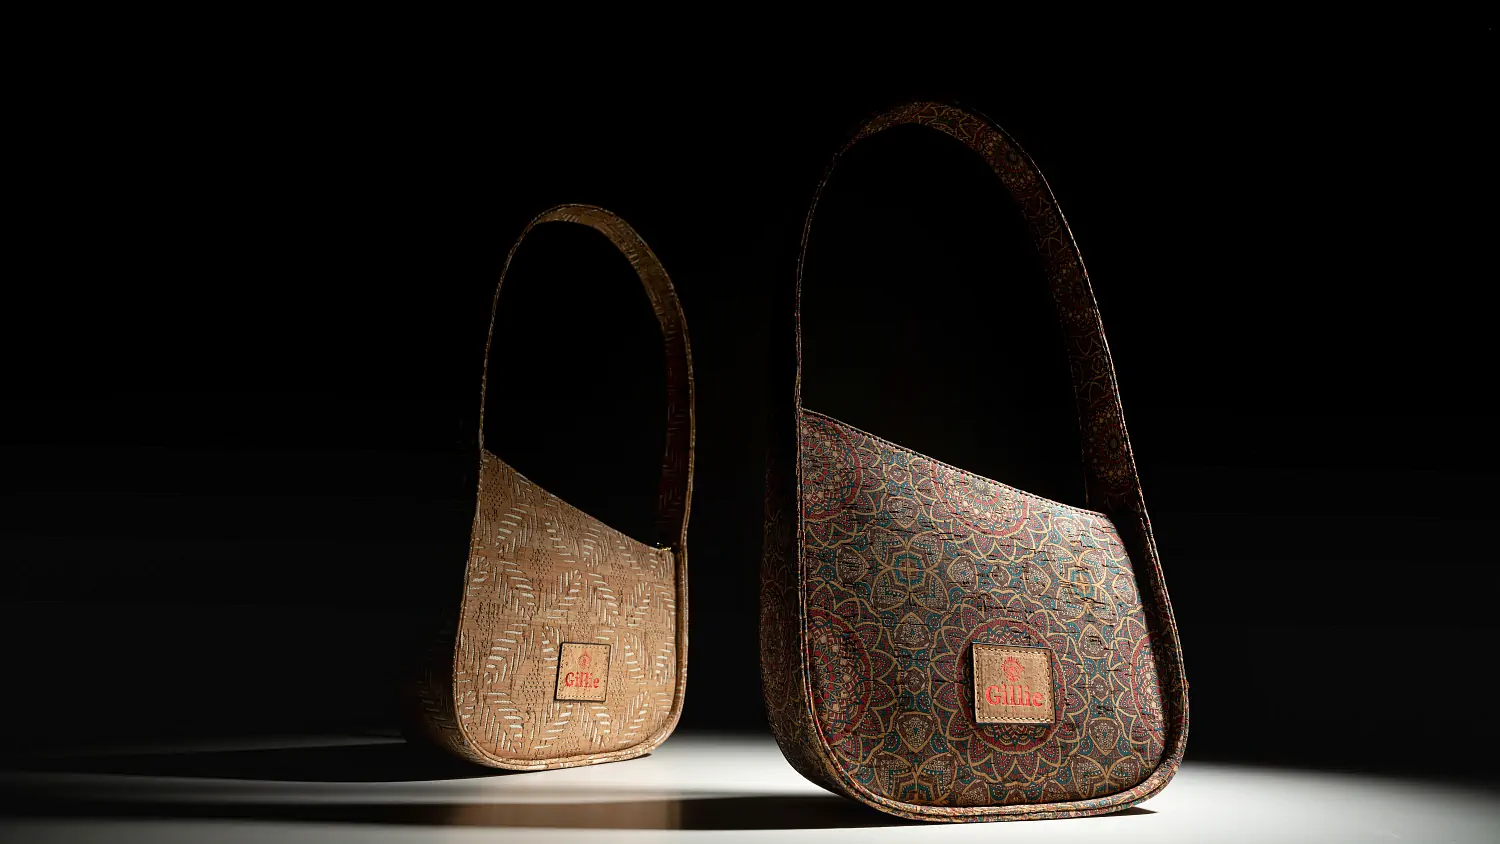
Shining light directly on a shiny surface
A direct flash or small light source creates harsh highlights on shiny skin. This obscures the product’s surface details and diminishes the perception of its true quality.
Photos should be prepared according to the sales channel
For the marketplace, a white background and technical clarity are key. For the brand website and social media, details, usage context, a stylized set, and a short product video may be required.
The approach outlined in this guide is based on practical challenges we frequently encounter in product and e-commerce photography projects.