In LUX Jewelry Cosmetics Fashion Industrial Home Textiles Decoration Shooting
From 2005 Since...
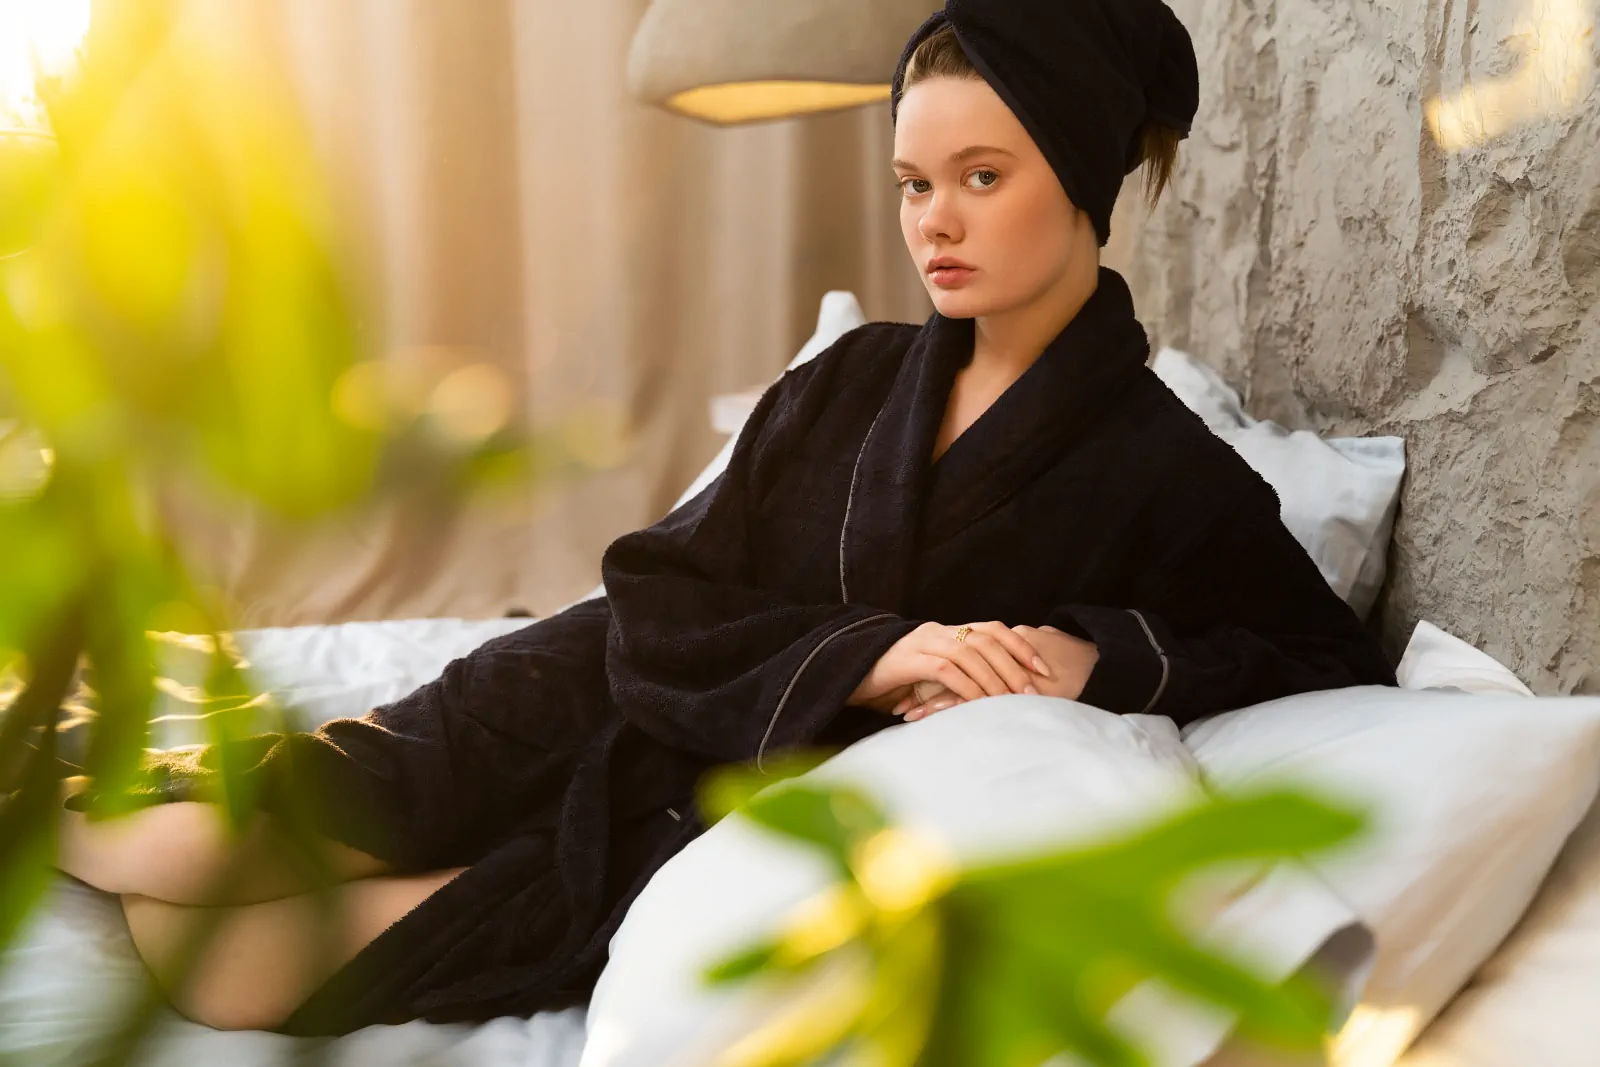
Leave your textiles in the hands of only the best! Our team of professional photographers and videographers are here to create images that will represent your brand in the best way.
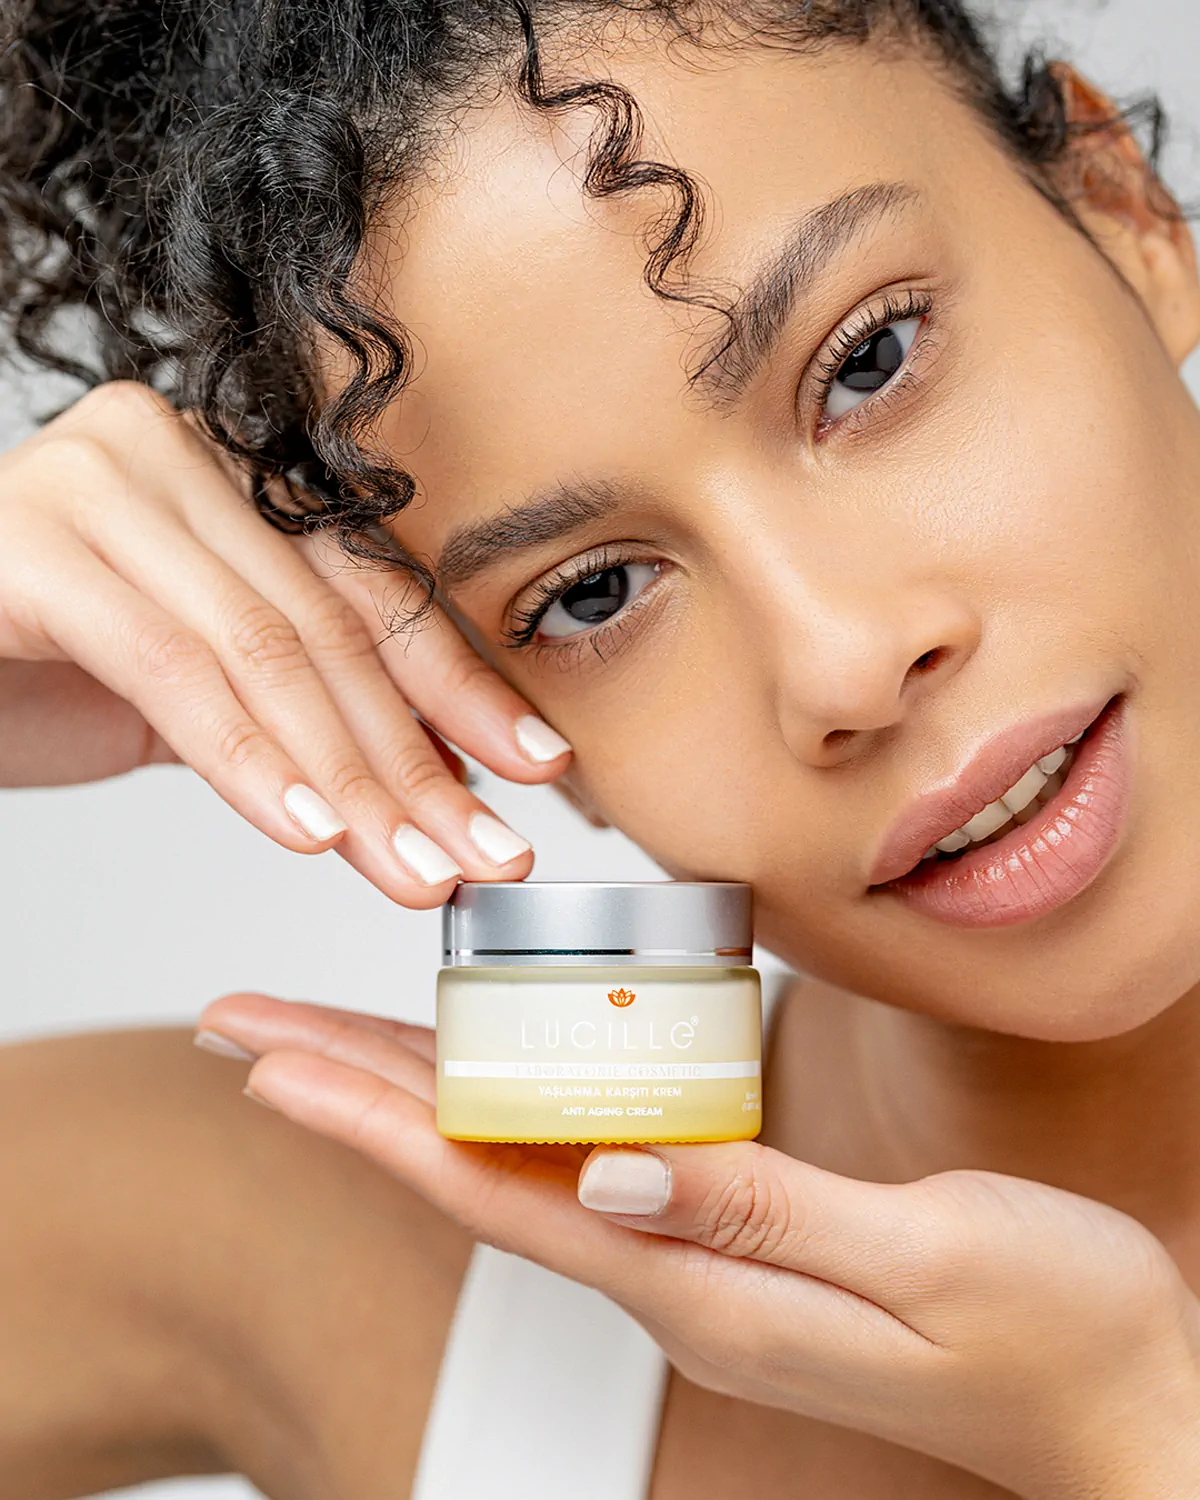
If you want to make a difference in the world of beauty and cosmetics, our team of professional photographers and videographers are very experienced. Let's get your work on billboards.
If you need the perfect jewelry photo and video shoots to dazzle your customers and highlight the charm of your jewelry, you are in the right place!
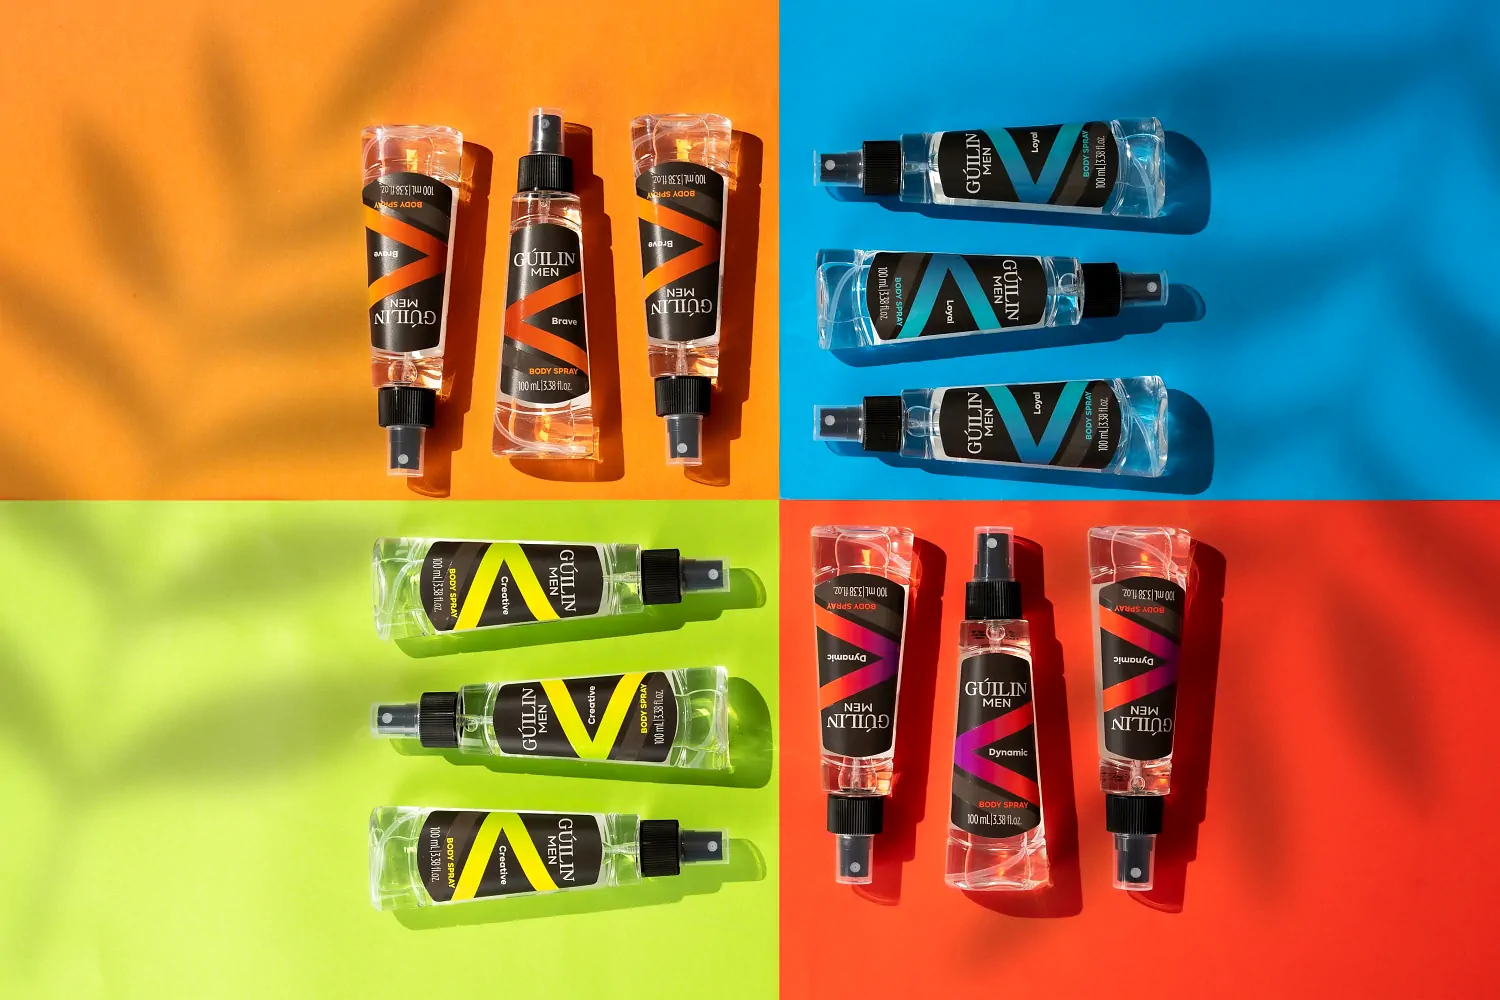
Selling your products on Amazon and Trendyol is now easier and more effective. We are here to shoot your products and impress your customers with our Amazon product photo and video shooting service.
If you are a newly promoted manager or a corporate employee preparing to embark on a new journey in your career, the photographer of the corporate portraits you need is here!
The best photos and videos for your brand
With us, it's just a click away!
WHO IS LUX?
LUX Photo Video Production has two branches in Berlin and Istanbul, each with 8-19 years of experience in their field, fully equipped professional photographers and video production professionals. Currently, more than 1000 people whose profession is photography have received their training in our workshop LUX Photo Video Production company founder Professional photographer Under the mentorship of Burak Bulut, LUX Photography Video Production produces solutions for the visual needs of corporate companies with its extensive team knowledge and experience and attentive service. If you are looking for an experienced e-commerce photography and videography solution, you are in the right place :)

Team & Equipment
A fully equipped photo studio, dazzling lights and a team of professional photographers and videographers behind the viewfinder, each of whom is an expert in their field!
With our experienced and professional team, we also use the latest and world's best cameras in our workshop. 3 61 megapixel and 2 42.4 megapixel high-tech cameras for 2024 ready for our photography and video shoots. Besides that, we use the best in class lenses. Of course, one of the requirements of a good professional photo shoot is to use good lights. Under the consultancy of Burak Bulut, our best photographers use 10s of state-of-the-art paraflashes and continuous lights, countless light shapers to create professional product photography that brings out the best features of your product. Finally, in order to deliver the product photos in the right color, our photographer and retoucher team work together to digitally edit them with a color calibration system and appropriate monitors and deliver them to you on the promised date. Contact us for the best photos!
OUR CUSTOMERS' EXPERIENCES:
I was looking for a quality service for product photography. Fortunately, our path intersected with Lux Production. From the first communication to the last moment, they made me feel that they worked with interest and care. I would like to thank the whole Lux Production team, especially Ms. Ceren.
We had a great experience. Very professional and friendly people who made our experience amazing. We took some photos and videos and they are all of very good quality (works of art) We are very happy with the result and we will definitely work with you again.
The team was very nice, understanding and professional. I really enjoyed my headshot! The photographers are very professional and know what they are doing, and they do their best to give you a nice shooting session. I highly recommend them, next time I need a shoot, I know where to go!
A business that understands your request and even puts more on it, I was very satisfied with their work, thank you to the whole team.
Professional and great team. We worked with them in both location and studio shootings, and they determined our needs with their expertise and offered quick solutions and suggestions. We entrust all the processes of both decorated and white background shots of our Dreamy Rikka brand for all domestic and international marketplaces with peace of mind. You will definitely not need to look for a different alternative.
I worked in a studio environment for the first time, and as someone who does not like to take photos, I am very pleased that I worked with a team that managed to make me love taking photos, and I look forward to our next work.
The best photographer in Istanbul. Don't waste time looking for a better photographer, there really is no one better than this one! Whether it's a corporate or personal shoot, LUX is the expert!!!
As a result of my research on the internet, I decided to have my headshot photos taken by trusting the comments, I am glad that I did, first of all, it is important for me to write the current prices on the site, I was able to learn the price information in a very short time, and then the process that started with the message of Ms. Duygu continued with the professionalism of Mr. Burak, with my entry into the studio. My ninety-minute shootings flowed like water in the way I wanted without getting bored, a studio that deserves the return of their efforts with their energy and services, I hope it will always continue like this.
I recently had a photo shoot, we were welcomed by an expert team who did their job beautifully and lovingly. I was very satisfied. Thank you very much for everything :)
A professional, sincere and warm studio. We have worked dozens of times and never had a problem. If there is a problem, I am sure that it will be solved with sweet language and I will deal with a constructive approach. We love merkez❤️
For 2 days, we had a very useful and enjoyable work with Burak Hocam. Thank you for sharing his valuable knowledge. The environment is positive and the whole team consists of kind and good people. If you are looking for professional service, this is the right place. I definitely recommend it.
It is a very professional and sincere place. We had our family and individual photos taken. Ms. Duygu satisfied us with her very fast and solution-oriented approach throughout the whole process. Mr. Onur, who took the photos, is also very expert and helpful. We recommend it to everyone.
Ms. Duygu, the sales representative before and after the shooting, was very interested and helpful. Mr. Onur and his assistant in charge of photography were also very helpful and friendly, they worked very professionally. The shooting process on the set was very enjoyable and the result was very satisfying. 😊 I would like to thank the team and recommend LUX studio to anyone who needs personal or professional photos.✌️
Thank you very, very much to Mr. Onur. He guided me very well during the shootings. I had a very pleasant time. The pictures were just as beautiful 🙏🙏🙏🙏🙏
Hello everyone, it was a nice experience for me, I officially learned how to stand and look, why didn't I have a photo shoot before!!! Nearly 400 photo shoots and it was difficult to choose for the shop because they were all beautiful, I would like to thank Mr. ONUR who did my shoots, Ms. DUYGU for her communication in the process and hospitality in the office and finally Mr. BURAK for his gesture and friendly welcome, I think I will do this often, I hope to see you in new shoots BURAK BULUT PHOTO WORKSHOP
Encountering a professionalism, quality of work and naturalness that is hard to find in Turkey has been so good for my soul that I cannot express it in words. If they had let me, I would have settled in a corner of the studio and stayed there. It is a privilege to be able to have a lesson with dear Burak Bulut Yıldırım, you never want it to end. He is in perfect harmony with his team, the whole team is perfect. I thank them all for the comfort and friendship they provided me. I am looking forward to my second trip for lessons and shooting. 🫶🏻Geçen The work and trainings I have done in a year are rubbish compared to what I have gained here in 4 days.
Hello, if your path intersects with LUX Production one day, you can trust them with your eyes closed.First of all, it is a team that understands what you want and does a job above your expectations.They do not do half-baked work at high prices like different companies.I would like to thank Mr. Onur and Ms. Funda for the quality photos and Mr. Süleyman for the videos.And I should also mention their General Coordinator Faruk Bey.I had in mind to visit their studio for a simple shoot, but he has a great contribution to the work coming to a much different point.He is one of the most professional, helpful and solution-oriented people I have ever met.He does a great job.Every question I asked was answered thanks to his proactive and positive approach.Thank you very much to him and the whole team🙏🙏


