How to Photograph Shiny Products? Controlling Reflections in Glass, Metal, Jewelry, and Cosmetic Packaging
Shiny products reflect direct light, the studio, the camera, and every object in the surroundings on their surface. Therefore, with glass, metal, jewelry, watches, eyeglasses, perfume bottles, and shiny cosmetic packaging, the goal is not to eliminate reflections entirely, but to manage them in a way that conveys the product’s form, material, and quality.
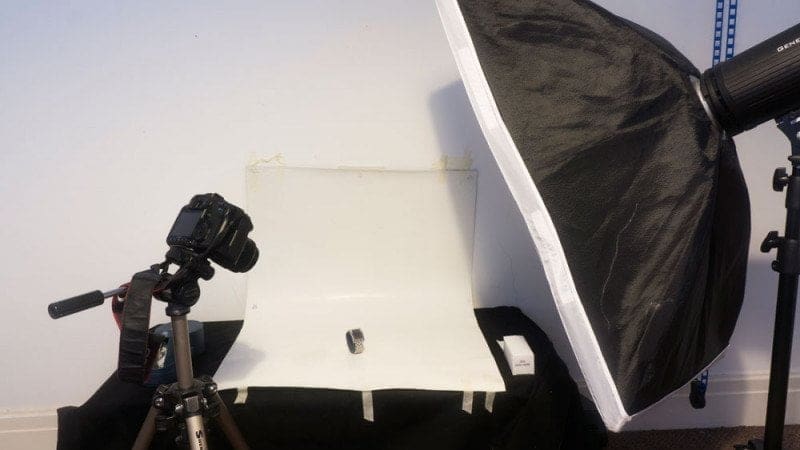
In this guide, we explain the basic lighting principles used in product photography, the difference between glass and metal surfaces, key considerations for e-commerce photography with a white background, and how to control reflections during a professional photo shoot.
If you need a white background ready for sale, decorated still lifes, photos with models, or short video content for your products, these technical decisions professional product shooting It should be planned at the very beginning of the brief.

- Aurora Jewelry
- Sculpture Diamond
- Martina Franca Jewelry
- Rima Gold
- By Eda Doğan Jewelry
- BIG SUGAR / Zehrai
- Shaik Perfume
- Sertaç Taşdelen Perfume
- Alix Avien
- Topface Cosmetics
- ColorN Drive
- Artchi London
“As an eyewear brand, we’re very happy with the studio. We’re planning a long-term partnership. Their product shoots, attention to detail, and dedication are top-notch. They’re true professionals when it comes to photography.”
Eyeofhorus Eyewear · Product Photography“We sell jewelry. We had photos taken of both our jewelry designs and decorative pieces. They turned out really great. Thank you so much.”
Mülkiye Çınar Jewellery · Jewelry Product PhotographyWhy is glare a problem with shiny products?
This is because a shiny surface reflects the camera, the light source, the studio, and the surrounding colors like a mirror. Uncontrolled reflections distort the product’s shape, appear as blemishes on the surface, and make the e-commerce image look amateurish.
Glass and metal cannot be drawn in the same way
Glass products often require backlighting and edge inspection. For metal, watches, and jewelry, the design incorporates large diffusion surfaces to create a reflective area on the product.
Retouching is no substitute for a photo shoot
Dust, fingerprints, micro-scratches, and camera reflections can be removed in post-production; however, it is difficult to restore the product’s true form later on if the shoot was not set up with proper lighting.